Regular spark plug service is a cornerstone of a proper engine tune‑up. Worn or fouled spark plugs can cause misfires, poor fuel economy, and hard starts. By following this straightforward spark plug replacement guide, you’ll save time and money—and enjoy smoother performance. In just seven steps, you can master DIY spark plugs installation and keep your engine firing on all cylinders.
Tools & Materials You’ll Need
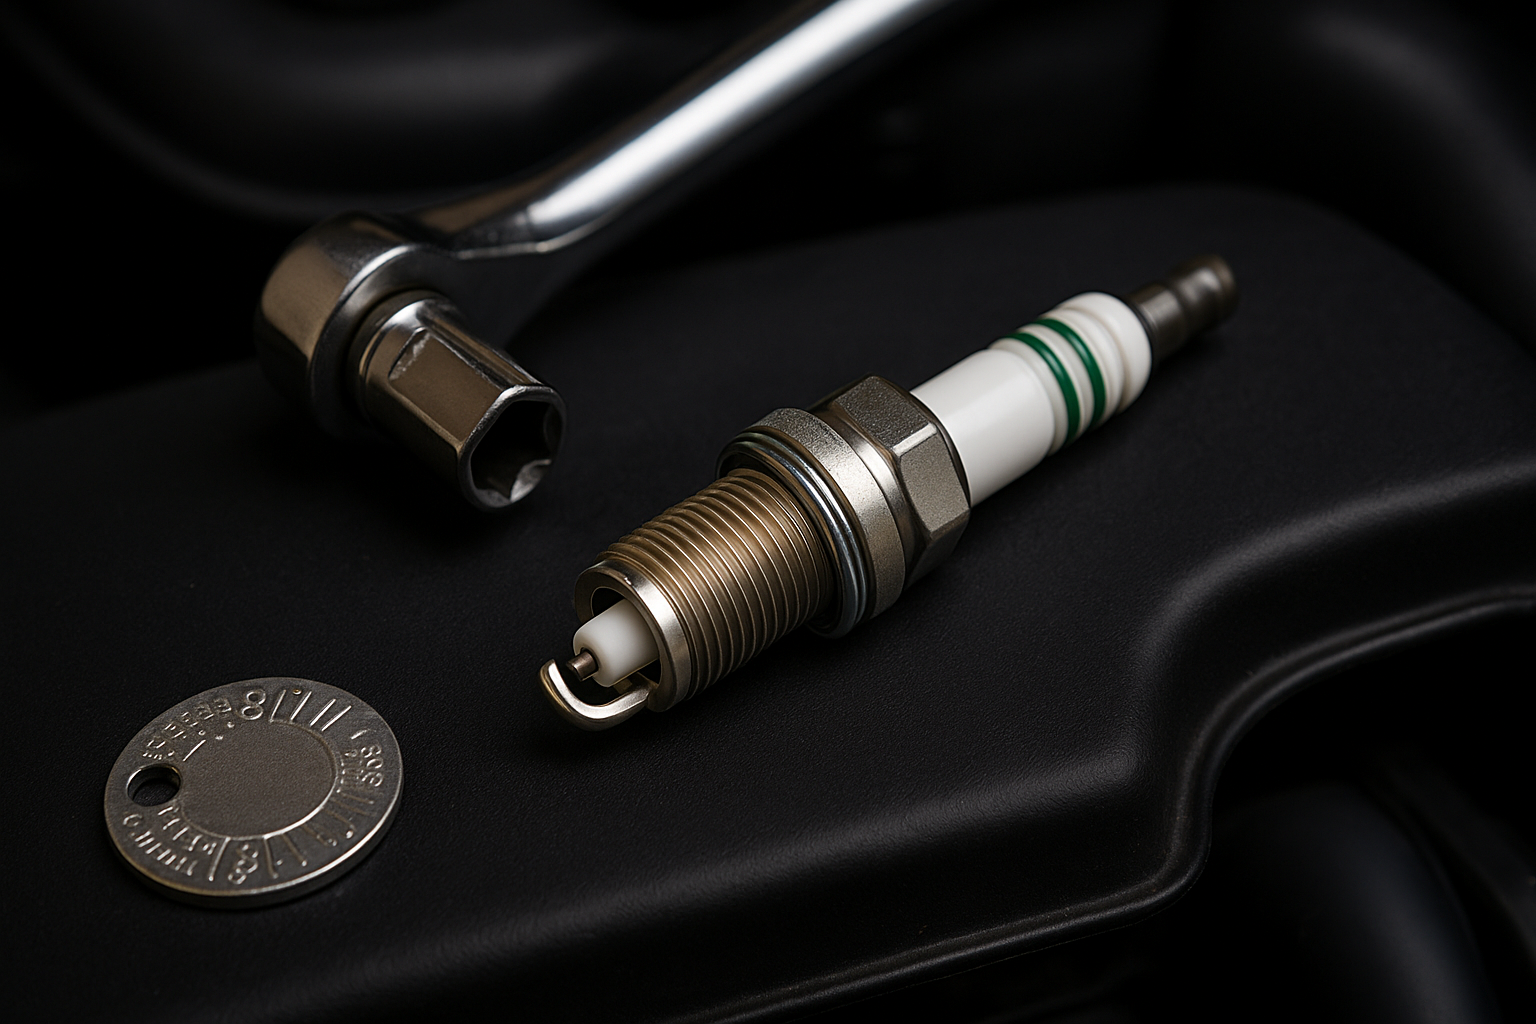
- Spark plugs: Verify the correct heat range and gap per your owner’s manual.
- Spark plug socket & ratchet: Typically 5/8” or 13/16”.
- Spark plug gap gauge: For checking and adjusting plug gap.
- Torque wrench: Ensures correct plug tightening (usually 18–25 ft‑lb).
- Dielectric grease: Prevents corrosion and eases future removal.
- Compressed air or shop vacuum: To clear debris around plug wells.
- Safety gloves & eye protection.
Step‑by‑Step Spark Plug Replacement
Step 1: Prepare the Engine
Park on level ground, cool the engine for at least 30 minutes, and disconnect the negative battery terminal. This prevents accidental cross‑firing and protects electronic components.
Step 2: Clear Debris
Using compressed air or a shop vacuum, blow out any dust or dirt around each spark plug well. This avoids debris falling into the cylinder once the plug is removed.
Step 3: Remove Ignition Coils or Wires
Depending on your vehicle’s ignition system:
- Coil‑on‑plug systems: Unbolt and gently pull out the ignition coil.
- Distributor or coil‑pack systems: Firmly pull the spark plug wire boot off the plug, twisting slightly to break the seal.
Step 4: Extract the Old Spark Plug
Attach the spark plug socket to your ratchet and carefully thread it onto the plug. Turn counterclockwise to loosen and remove the old plug. Inspect it for deposits or damage (e.g., oily fouling, blistered insulator) as part of your engine tune‑up diagnostics.
Step 5: Check & Adjust the Gap
Using a gap gauge, measure the electrode gap on each new spark plug. Adjust by gently bending the ground electrode until it matches the specification in your owner’s manual. Proper gap ensures consistent ignition and optimal combustion.
Step 6: Install New Spark Plugs
- Apply a small dab of anti‑seize compound to the plug threads (optional but helps future removal).
- Carefully thread the new plug into the hole by hand to avoid cross‑threading.
- Use the torque wrench to tighten to the manufacturer’s specified torque (generally 18–25 ft‑lb).
Step 7: Reinstall Coils or Wires & Test
Before reattaching ignition coils or wires, apply a light coat of dielectric grease inside the boot to seal out moisture. Reconnect each coil or wire in its correct order. Reconnect the battery, start the engine, and listen for smooth idling. A steady, quiet idle indicates successful DIY spark plugs replacement.
Tips for Successful Spark Plug Maintenance
- Work one cylinder at a time: Prevents mixing up wires or coils.
- Replace in cold weather: Cooler temperatures help you work safely and prevent heat‑soaked components.
- Keep track of old plugs: Save them for inspection—patterns can reveal engine issues like lean/rich running or oil leaks.
- Follow service intervals: Most spark plugs last 30,000–100,000 miles depending on type (copper, platinum, iridium).
Conclusion
Completing a spark plug replacement on your own is a rewarding part of any engine tune‑up. With proper tools, attention to detail, and a methodical approach, your DIY spark plugs service will deliver reliable starts, improved fuel efficiency, and reduced emissions. Keep a regular schedule, inspect plugs for wear patterns, and enjoy smooth, confident driving mile after mile.